Editing Code ID: DBT-GS-EC
Marketpath CMS uses a specialized syntax highlighter and validation tool for writing HTML, CSS, and Javascript. To open any of these documents in the code view, click the edit icon ![]() . This will open the code in a new tab.
. This will open the code in a new tab.
Editing Templates
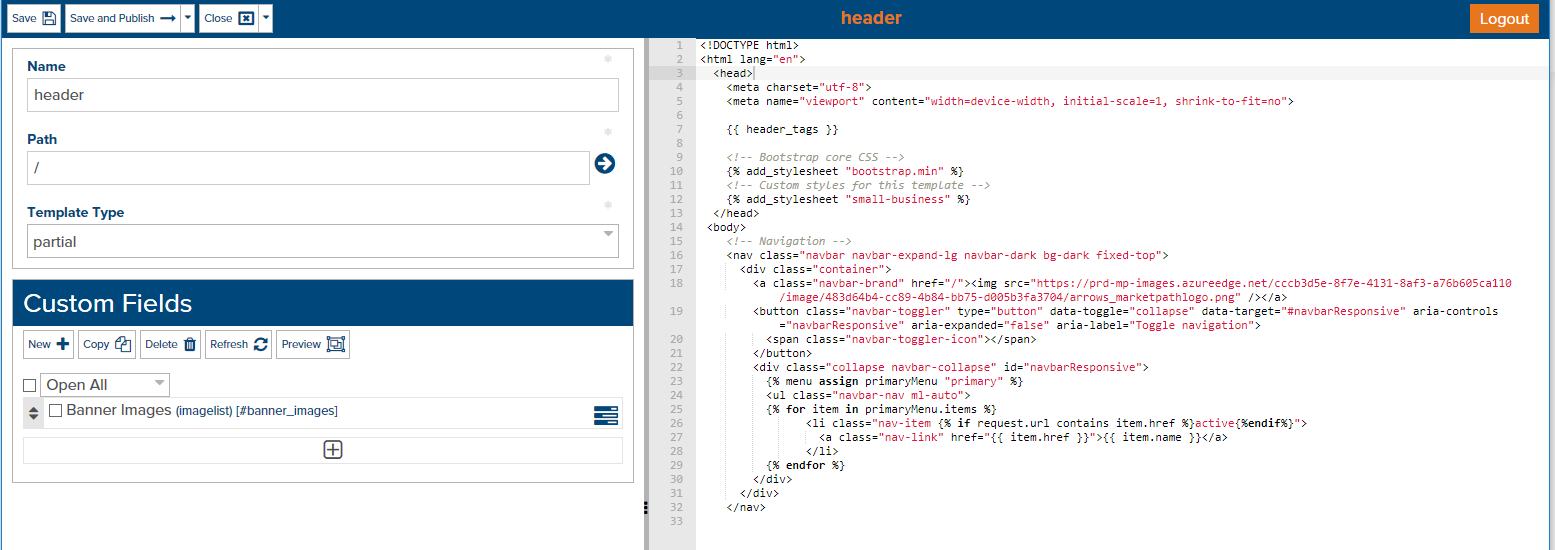
The template edit screen will have a left and right pane. You can resize each of these by clicking and dragging the middle separator to the left or right. You can also double-click this bar to show or hide the left pane altogether.
Templates are loaded and validated as HTML markup.

Fig. 1 - Template edit interface
In Marketpath CMS, there are several types of templates. The two types you’ll use most often are page templates and partial templates. We’ll discuss these more in a later lesson but the main thing to note is that page templates are the top level (or parent) template, whereas partial templates are included within page and other template types.
Custom Fields
Each template, whether a page template or a partial template, can define custom fields in addition to the built-in fields each entity has. When templates are fully compiled, the entire list of custom fields defined in the page template and all included partial templates is presented to the content editor.
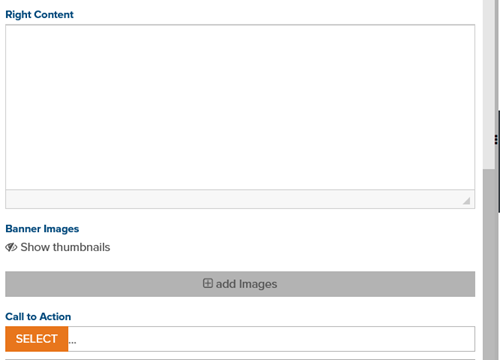
Let's take the simple header partial template as our example. In the header template a custom field named "Banner Images" is added that lets the user select one or more images (an Image List field). In the footer template I defined a single Snippet select field named "Call to Action" that lets the user select a Snippet. On the main page template, I have a free-form HTML field named "Right Content" so the user can add content to the right side of the page. When the content editor opens a page to be edited they will see the following (Fig. 2):

Fig. 2 - Template Custom Fields dialog
In my header template code, I can loop through the Banner Images like this:
<ul class="gallery">
{% for img in entity.banner_images %}
  <li>{{ img }}</li>
{% endfor %}
</ul>
And in the footer I can render the call to action like this:
<div class="call-to-action">{{ entity.call_to_action }}</div>
We'll get into more coding in a later lesson but hopefully this demonstrates the power of page and partial templates.
Editing Stylesheets
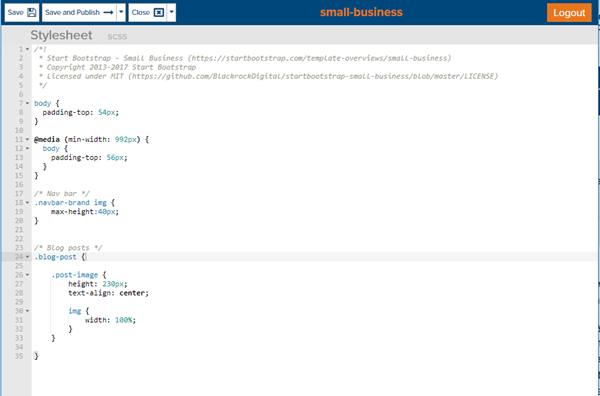
Stylesheets can be created as CSS, LESS, or SCSS. They can be standalone or partial stylesheets to be included in a master stylesheet by using the import directive.
Stylesheets are loaded and validated as CSS, LESS, or SCSS code. All stylesheets are compiled (if LESS or SCSS) and minified when published.

Fig. 3 - Stylesheet editor using SCSS
Editing Javascript
The Javascript editor makes it convenient and easy to create and update custom scripts for your site.
Javascript files are loaded and validated as standard Javascript code. At this time, there is no minification or obfuscation performed when published.

Fig. 4 - Javascript editor
Editor Shortcuts
Here are a couple code editor shortcuts that may help you during development:
<CTRL>-F - This is the find command. A search dialog box will appear in the top right corner of the code editor.

Fig. 5 - Code edit find dialog
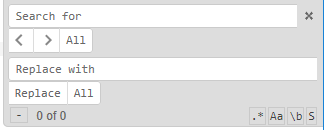
<CTRL>-H - This is the find and replace command. A find and replace dialog will appear in the top right corner of the code editor.

Fig. 6 - Code edit find and replace dialog
Feedback?
Please fill out the form below with your feedback or any questions you may have after working through the "Editing Code" lesson.