History & Versions ID: EBT-OC-HV
Marketpath CMS keeps track of changes to content and saves a version of content each time it is published.
History
Every time an object is changed in Marketpath CMS a log is kept of that change. The log contains the date and time of the change, the type of change made, and who performed the change.
To view the history of an object, you must be in the object Properties dialog. Once open, click History (Fig. 1).
![]()
Figure 1 - History action
This will show the full history of the object from its initial creation (Fig. 2).
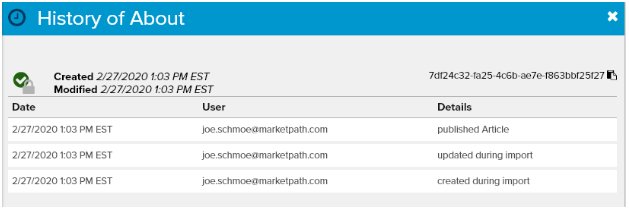
Figure 2 - History of an object named “About”
Restoring Versions (Rollback)
If you want to restore an old version of an object then you can use the Versions dialog. To access this, click the down arrow that is part of the History button and then click Versions (Fig. 3).
![]()
Figure 3 - Versions action
The Versions dialog will open and show you all of the currently retained published versions of the object (Fig. 4).
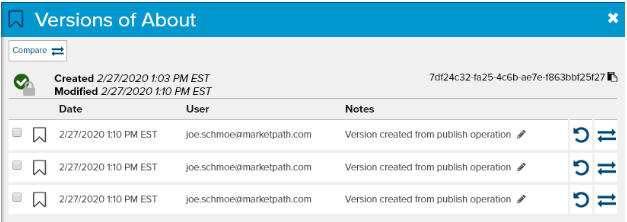
Figure 4 - Versions of an object named “About”
To restore the object to one of the listed versions click the Restore icon ![]() of the version you wish to restore. You will have to click the Yes, Restore button to continue (Fig. 5).
of the version you wish to restore. You will have to click the Yes, Restore button to continue (Fig. 5).
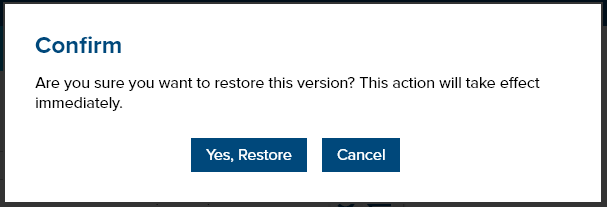
Figure 5 - Restore confirmation dialog
The Success dialog will appear when the restore has completed (Fig. 6).
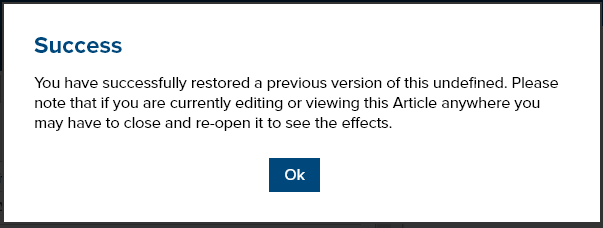
Figure 6 - Restore Success dialog
Comparing Versions
In the Versions dialog you can also compare versions to each other. To do so, select the check box of two versions you’d like to compare. The Compare Versions dialog will appear with showing both versions of the content (Fig. 7).
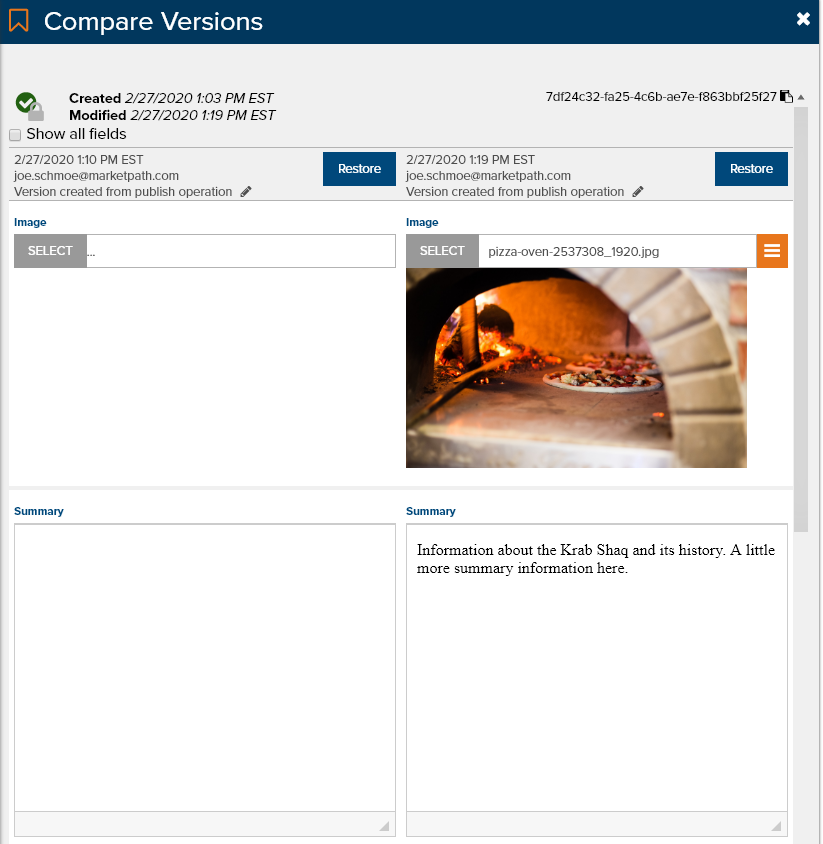
Figure 7 - Compare Versions dialog
If you only select the checkbox of one version and click Compare it will compare that version to the current version whether it has or has not been published. The compare icon ![]() shown at the end of each row performs this same action.
shown at the end of each row performs this same action.
Permanent Save
Each site has a limited number of versions that will be stored and is based on the site’s selected plan. The Starter plan, for example, will store up to 5 published versions. This is important to know because if you plan to make big changes to an object then you can permanently save one or more versions. You can see how many versions your plan has access to by expanding the Site container and going to Site Usage (Fig 8).

Figure 8 - View your available versions based on your selected plan
To save published versions from within the Versions dialog click the tag icon for the version you want saved. This will prompt you to change the existing version notes of the object, if desired.
Once completed the tag icon will become shaded and the notes will reflect any changes you made (Fig. 9).

Figure 9 - Version list with one saved version
As you continue to publish changes to the object, any saved versions will move towards the bottom of the list but will not drop out of the list. Saved versions do count towards your version limit.
To unsave a version, simply click the shaded tag icon ![]() and it will revert to an an unsaved state.
and it will revert to an an unsaved state.
Save a Version without Publishing
You can also save a version without publishing an object from with the object’s Properties dialog. To do this click the dropdown arrow on the Save button and then click Save Version (Fig. 10).

Figure 10 - Save Version button
You will be prompted to leave a note or not leave a note (Fig. 11). We recommend leaving one for future reference.
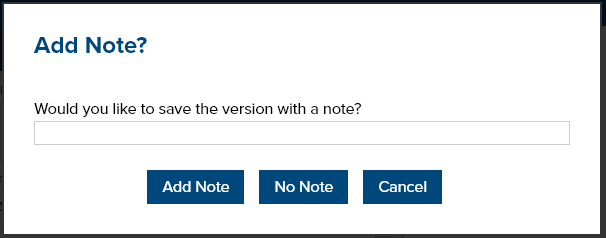
Figure 11 - Save Version prompt
Feedback?
Please fill out the form below with your feedback or any questions you may have after working through the "History & Versions" lesson.