Inserting Galleries ID: EBT-EDIT-GAL
This lesson will show you how to insert an Image Gallery into an HTML editor content area.
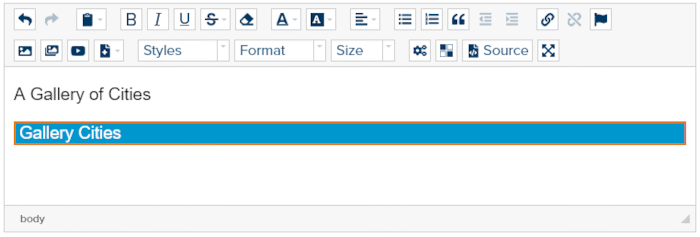
To insert a Gallery, click the Gallery toolbar button ![]() and the Select a Gallery dialog will open. From the list, click the Gallery you want inserted and you will then see a placeholder for that Gallery added into the HTML editor (Fig. 1).
and the Select a Gallery dialog will open. From the list, click the Gallery you want inserted and you will then see a placeholder for that Gallery added into the HTML editor (Fig. 1).

Fig. 1 - Gallery named “Cities” inserted into HTML editor
You can quickly access the Gallery to make changes by double-clicking on the blue placeholder and then clicking the Properties icon of the specific Gallery. Be sure to Save and Publish any changes and those will automatically be rendered in the Live and Preview sites.
Feedback?
Please fill out the form below with your feedback or any questions you may have after working through the "Inserting Galleries" lesson.