Video
Overview
A site go-live means that a site becomes publicly accessible through one of more of its verified custom domains or free development domains. If your site does not have a custom domain (e.g. www.my-custom-domain.com), you will have a development domain that looks similar to the following:
my-site.live01.dev.marketpath.site
This how-to article walks you through the steps to take your site live.
NOTE: if you have a custom domain, read the Custom Domains section below. There are specific steps you need to take before your site can go live.
Open the Go-Live Dialog
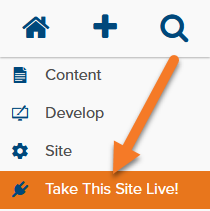
In your site's primary navigation (on the left side) click the Take this Site Live! button.
Go Live without a Credit Card
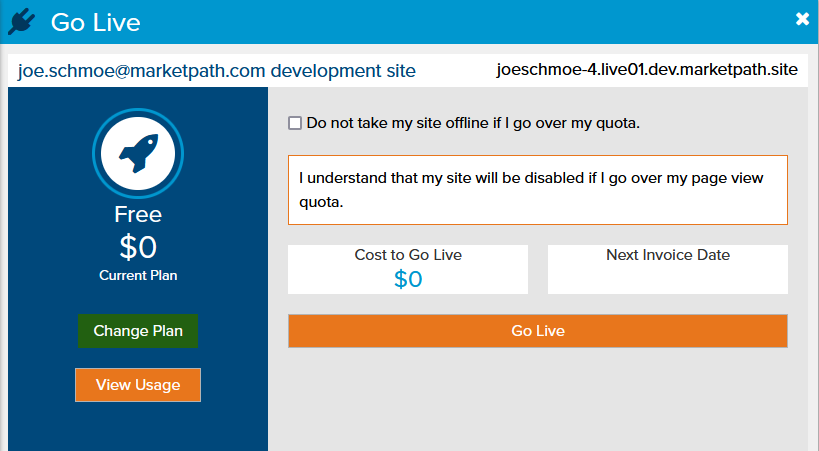
Going live without a credit card ensures you will never be charged a dime for your Marketpath CMS site. Make sure the selected plan showing on the left is the Free plan and the checkbox Do not take my site offline if I go over my quota is unchecked. Then click the Go Live button.
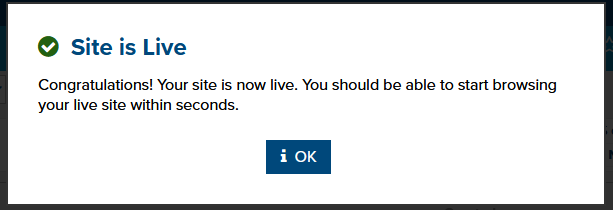
You should see the following dialog once your site has been taken live. Now you can click on the page links within your site and they will open to whatever domain you are using - either a development domain or a custom domain.
Keep in mind, that if you go live without a credit card and you accrue more than the Free plan's total page views (currently 2,000 per month), your site will be deactivated until the next 30 day term begins. You can view your current usage by navigating to Site -> Site Usage.
If you never want your site to go offline, we recommend providing a credit card. If there are any overages, you will be billed for them during the next term. You can estimate overage costs for each plan by using our pricing calculator.
Go Live with a Credit Card
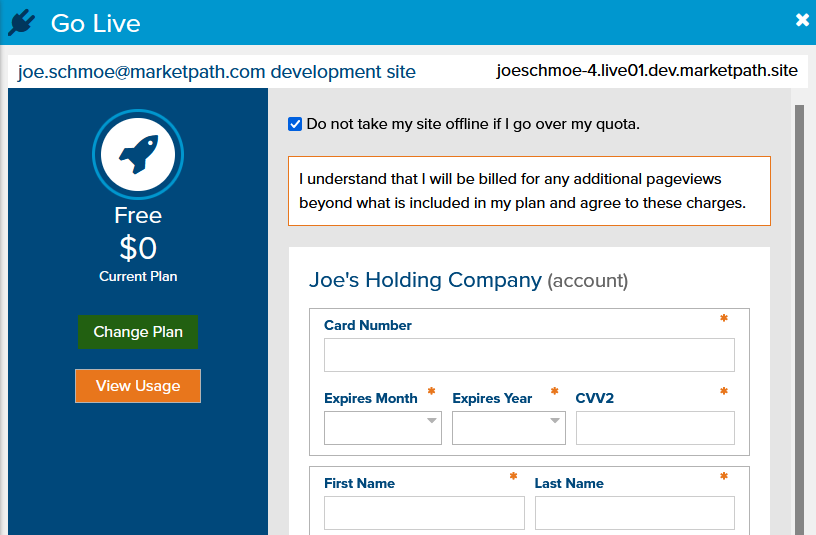
To go live with a credit card, make sure the Do not take my site offline if I go over my quota box is checked. Then enter your credit card details and click Save Credit Card. This will save the payment method to your account, which can be used for additional sites. Finally, click the Go Live button.
Change Your Plan
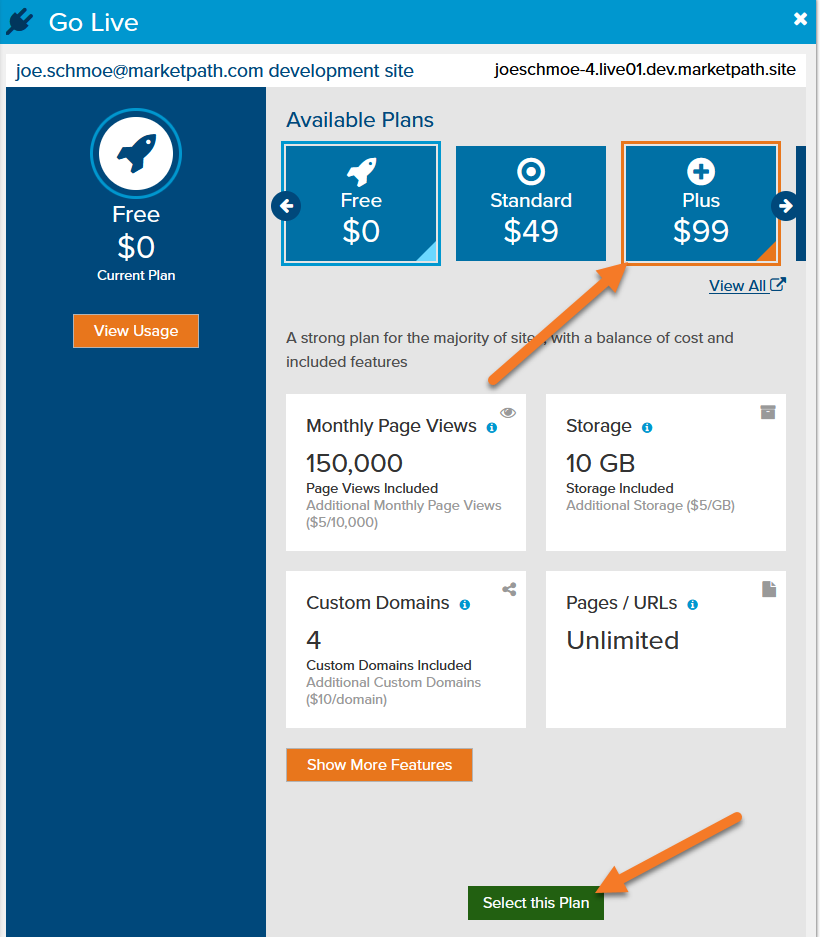
In the Go Live dialog, you'll see the selected plan in the blue column to the left. In the image above it shows the Free plan for $0 per month. If you'd like to select a different plan, click the Change Plan button.
You can view the available plans to compare their page view, storage, and other limits. Select the plan that works best for you and click Select this Plan.
Custom Domains
If you have a specific domain you want to use for your site (e.g. my-awesome-site.com), then visit the page Adding a Custom Domain. This will walk you through the steps to add a domain to your site before go live.
Once you've added the domain to your site you'll need to perform the steps in Pre Go-Live: Site Domain Swap. This ensures that the original development domain is replaced with the custom domain throughout the site.
Support
Be sure to reach out to us if you have any trouble taking your site live. If you're not experienced with custom domains, it can be tricky and confusing. We are just a click or an email away with helpful guidance!